Related Classes
- UComponentLogic
- UButtonLogic
- UJoystickLogic
- UAdvancedJoystickLogic
- UMultitouchLogic
- UFreeTouchLogic
- UKnobLogic
- USliderLogic
- SLayoutComponent
SUMMARY #
This class defines how the component reacts to inputs and allows the input value to be modified. Is it a button with a vibration or sound trigger? Is it a joystick with advanced features like auto run or drag to sprint?
HOW TO CREATE LOGIC? #
In the editor, it is automatically instantiated when you select a class in the layout component’s details panel.
At runtime, you should not create this class manually. Instead, use the Set Logic function. It will handle creating the instance correctly and modifying the layout component. You can then retrieve the instance if needed.
HOW TO GET INSTANCE? #
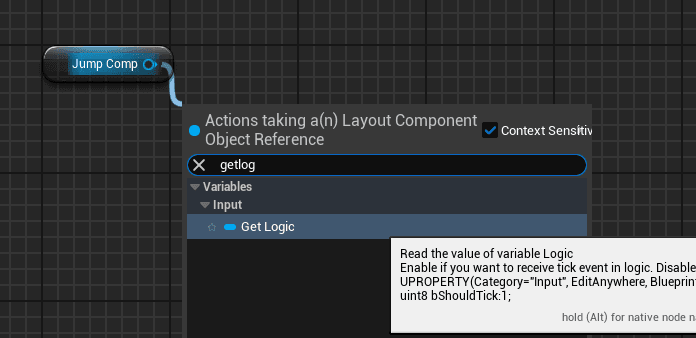
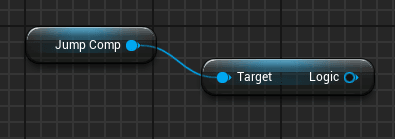
You can retrieve the instance simply by accessing the Logic variable. You will likely need to cast to the desired type, for example, button logic or joystick logic.

WHEN TO ACTIVATE THE TICK? #
Theoretically, you should only enable the tick function if you have operations to perform every frame. In practice, it’s necessary to enable it for inputs to work. This design flaw will be fixed in a future update.
HOW TO MODIFY INPUT VALUE? #
You can use Input Modifiers to alter the values of the base input. More information about Input Modifiers can be found here.
Input Modifiers are self-instantiated classes, so you simply add an element to the array from the details panel and configure the instance if necessary.

HOW TO ADD HAPTIC EFFECT? #
In the Haptic category, you can activate this effect. You will need to either specify the duration and intensity, or use a Force Feedback Effect asset. Note that on Android, the intensity must be equal to or greater than 0.3 for it to work. Haptic effects are currently only pre-integrated into the button. A future update will add this functionality to other logic types.
In the meantime, you can create your own logic component and use the functions to create custom Haptic effects.
HOW TO ADD SOUND? #
In the Sound category, you can specify the sound to be played when you press the button. The sound will only play once. This feature currently only pre-integrated into the button.
HOW TO MODIFY LAYOUT COMPONENT? #
You can modify the layout component by retrieving the instance using the Get Touch Input Object function. You can then modify the layout component as desired.
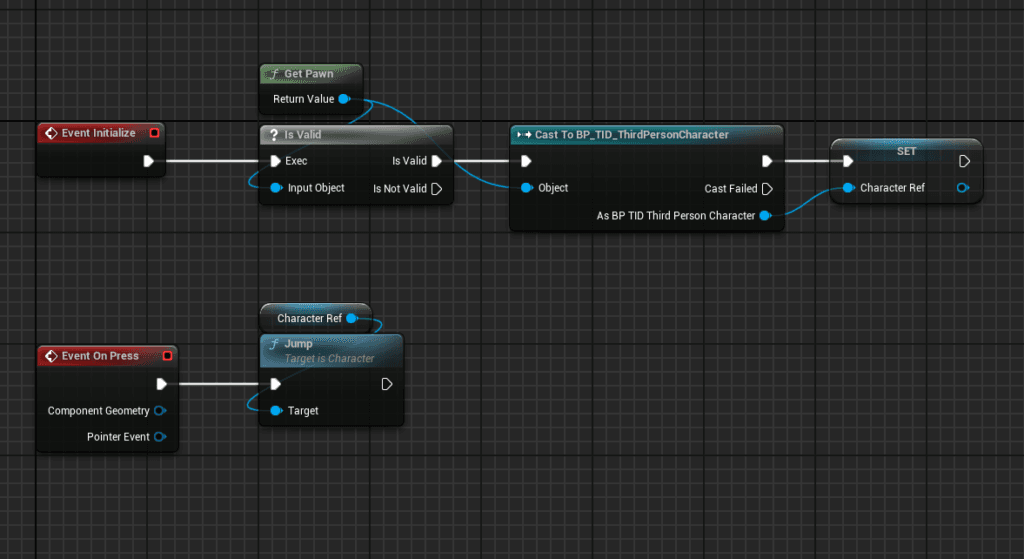
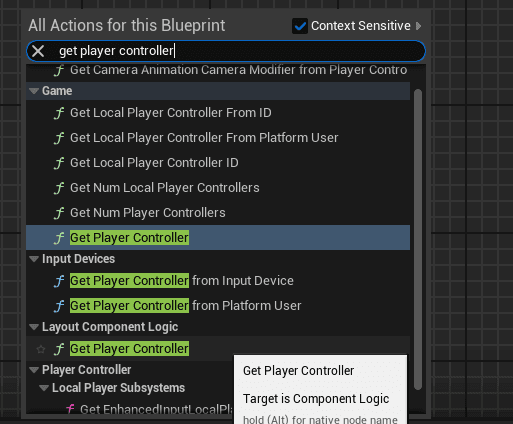
HOW TO GET PAWN OR CHARACTER? #
You can retrieve the pawn using Get Pawn and the player controller using Get Player Controller. Be careful to use the correct functions within the component logic. Remember to check that the pointer is valid before using it.
HOW TO INJECT INPUT? #
There are two types of input injection in Touch Interface Designer:
- Immediate injection (Inject Input In Frame) : It is used, for example, by free touch, knobs, and slider logic. They send the difference between two values within a single frame.
- Continuous Injection (Inject Input) : It is used by buttons or joysticks to continuously send a value every frame. Injection is stopped by calling the Stop Injecting Input function. You can check if an input is injected using Is Input Injected.
Legacy Input support
If you are still using the old input system, you can inject inputs in much the same way. For a button, you simply need to call the Inject Action Input function and use an FKey instead of an Input Action. For a joystick, you will need to call Inject Axis Input for each axis (horizontal and vertical) and create a FAxisInputInjection structure. You can use the Create Axis Input Injection For Player function for assistance. If necessary, you will need to stop the injection with Stop Injecting Action Input for a button or Stop Injecting Axis Input for an axis.
It is highly recommended to use the Enhanced Input plugin for processing inputs.
HOW TO CREATE MY OWN COMPONENT LOGIC? #
To create your own component logic for a specific use case, for example, you need to create a new class based on an existing logic class. UComponentLogic is the base class. It does nothing by default and contains all the functions necessary to create your own behavior. If you need a starting point, you can inherit from UButtonLogic, UJoystickLogic, etc.
Let’s say you need a joystick that allows you to fire while simultaneously moving the player’s direction. You would create a class based on UJoystickLogic. Your class will have the behavior of a classic joystick, but you can add the action of firing on press, for example.
Touch Interface Designer allows you to easily create this class. Right-click in the Content Drawer, select Touch Interface Designer, go to the component logic submenu, and select the class you want to use. Empty corresponds to the base class (UComponentLogic).

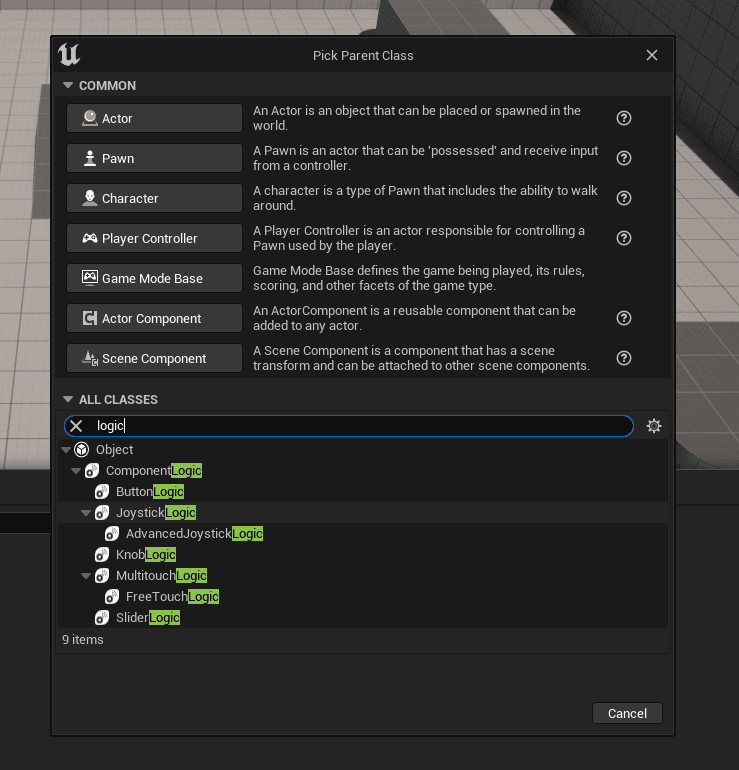
You can also create a new blueprint class and, in All Classes, search for and select the class you want to use.
Example


